
Are you having trouble with your sprinkler system? Before you call for an expensive service, you can try sprinkler system troubleshooting yourself with a simple tool called a multimeter. With this tool, you can check if the problem is with your home’s power, your sprinkler timer, or even a faulty valve. We’ll show you how to use it, even if you’ve never used one before.
Understanding Your Multimeter: More Than Just a Voltage Tester
A multimeter is a handy tool for checking electricity. You don’t need a super fancy one for your sprinkler system. While brands like Fluke are great, especially for government jobs, a cheaper multimeter will do the trick for home use. We’ll talk about what you need to look for in a multimeter and how to use its basic features.
Choosing the Right Multimeter: Budget-Friendly Options
Look for a multimeter that can measure AC voltage and resistance. Your home’s power is AC voltage, and your sprinkler valves use low voltage. Make sure the voltage setting goes up to at least 120V for your wall outlets and down to about 24V for the valves. For resistance, you need a setting that can handle the solenoid’s resistance. You can find good multimeters for $20 to $40 at places like Harbor Freight or Amazon. These are perfectly fine for finding out if something is working or not.
Essential Safety First: Pre-Testing and Best Practices
Always test for power before you touch any wires or outlets. A simple voltage detector is best for this. It’s a small tool that lights up if it senses electricity. This helps you avoid getting shocked. When testing an outlet with your multimeter, be careful. Put the black probe into the neutral slot first. Then, carefully touch the red probe to the hot slot. You should see about 120 volts on the display. It’s also good to know about GFCI outlets and circuit breakers. Sometimes, a tripped breaker or GFCI is the only reason your sprinklers aren’t working. Just hitting the reset button can fix it.
Diagnosing Power Issues: From the Wall to the Timer
The first step is to make sure your sprinkler system is actually getting power. This means checking your home’s outlets and then seeing if that power makes it to the timer unit.
Verifying Wall Outlet Power
Use your voltage detector to see if the outlet has power. If it lights up red, you’ve got power. Then, grab your multimeter. Set it to AC voltage, usually around 120V. Carefully insert the probes into the outlet slots. You should get a reading close to 120 volts. This confirms your home’s power is working correctly.
Checking Power at the Sprinkler Timer
Next, check the power coming into your timer. Look for the wires that connect to the timer from your wall outlet. Set your multimeter to AC voltage. Test the voltage at these input wires. It should be around 120V. If it is, the power is reaching the timer. Now, find the transformer inside the timer. This device lowers the voltage for your sprinkler system. Test the output voltage from the transformer. You’re looking for about 24V AC. If you see this, the transformer is working.
Troubleshooting the Sprinkler Timer and Valves
If your timer has power and the transformer is working, the problem might be with the timer itself or the valves. We’ll look at how to check these parts.
Understanding Timer Functions and Backup Batteries
Many timers have a backup battery. This battery doesn’t power the sprinklers. Its job is to keep your programmed schedule safe if the power goes out. It remembers your watering times and days. So, if your timer lights up but sprinklers don’t run, the battery isn’t the main issue. You’ll want to make sure the timer is set correctly. Check the current time, date, and your programmed watering schedule.
Sprinkler System Troubleshooting: Testing the Valve Solenoid and Wiring
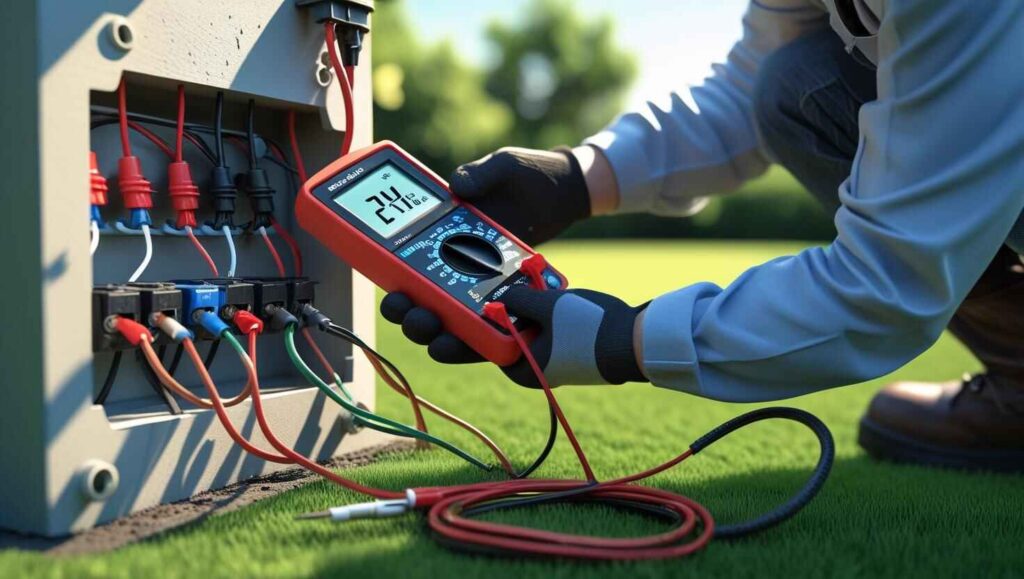
Sprinkler valves have small wires, and understanding them is key for sprinkler system troubleshooting. Usually, one wire is white and connects to all valves — this is the common wire. Other wires connect to specific zones, like blue for zone one or red for zone two. To test these, set the timer to run a zone. Then, use your multimeter to check the voltage. Measure between the common wire and the zone wire at the valve. You should see around 24V AC. This step is an essential part of sprinkler system troubleshooting, as it ensures the valves receive the correct power.
You can also test the wires for breaks. Use the continuity setting on your multimeter. Touch the probes to both ends of a wire. If it beeps or shows a low number, the wire is good. If it shows “OL” or a very high number, the wire is broken. Checking the wiring like this is a fundamental step in sprinkler system troubleshooting, helping you identify electrical issues before replacing valves.
When to Replace Components: Valves and Transformers
Your multimeter readings will tell you what needs replacing. It helps you decide if a part is bad.
Identifying a Faulty Solenoid
The solenoid is a small part on the valve. It acts like an electromagnet. When it gets power, it opens the valve. To test it, set your multimeter to measure resistance. You’ll likely use the 200-ohm setting. Touch the probes to the solenoid’s wires. A good solenoid will show a resistance reading, maybe between 20 and 50 ohms. If you get “OL” or zero ohms, the solenoid is probably bad. It means the wire inside is broken or shorted.
Replacing Timers and Transformers
If your timer gets 120V but doesn’t output 24V, the transformer is likely broken. In this case, you’ll probably need to replace the whole timer. Sometimes, you can replace just the transformer. But a new timer is often easier. For valves, you’ll see differences between plastic and brass ones. Plastic valves are cheaper. But they can get brittle in the sun. Brass valves cost more but last longer, especially in direct sunlight.
Key Takeaways for DIY Sprinkler Troubleshooting
- Safety First: Always use a voltage detector before you touch any wires. Follow safe multimeter testing methods.
- Work Smart: Start checking from the power source. Look at the wall outlet, then the timer’s input, then its output. Check the wires and then the valve solenoid.
- Use Your Multimeter: This tool gives you clues. It helps you find problems. It’s not for complex repairs on the tool itself.
- Know When to Call: If all the electrical parts seem fine, but it still doesn’t work, the problem might be with the valve’s mechanics. That’s when you might need an expert.
Conclusion:
Using a multimeter can really help you fix your sprinkler system. It saves you time and money. Just follow these steps. Check your power source. Then check your timer and valves. Remember to always be safe when working with electricity. If you’re not sure about something, it’s always best to call a professional.